Recently CCP locked a virtual machine that I used for 3 years.I did not modify any virtual machine characteristics.But I know that the ccp knows I’m using a virtual machine.
Now I want to bypass their detection, and the problem seems to be with evelauncher, because I see a lot of action on “Procmon”.
Do you have any suggestions?
Have you considered creating a new virtual machine instead of using the old one?
You can use ultra-light windows installs from SasNet Projects - Windows Lite to create small ready to go windows 10 VM’s, takes about 10mins to set up for EVE.
I use this to run alpha accounts without the “multiple sessions” limitations.
2 Likes
Thank you for sharing it.
If you can answer I have a few questions.
-
What software are you using to manage these 10 VMs?
-
What strategy do you use to make it easier?
-
Do you install game eve, bot, scripts, leave everything ready in just one VM and then clone the others? or configure one by one?
I actually use RDP Wrappers instead of VM’s now, they’re ultra light weight allowing you to RDP to your own computer to create user sessions. (allowing the bot to control mouse/keyboard without interfering with your main pc.)
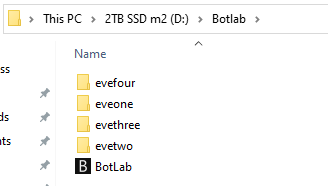
I have separate botlab folders for each user I RDP to so I can micro-manage settings where required:
Below are two sets of instructions, first: how to create local user accounts to RDP too, second: how to install/setup RDP Wrapper which allows multiple concurrent RDP connections to the local computer.
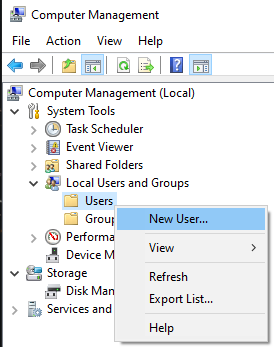
How to Create Local User Accounts
- Open Computer Management
- System Tools > Local Users and Groups > Users > Right-Click New User…
- Give the user a username and password.
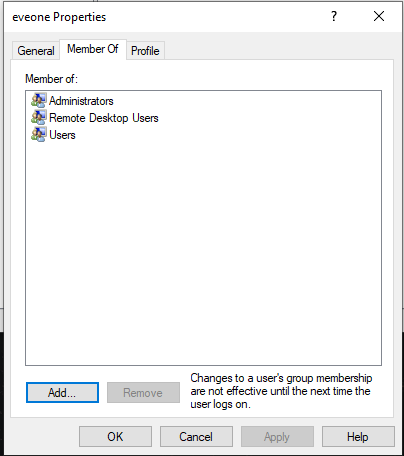
- In the “Member of” tab, add the user to the groups seen below.
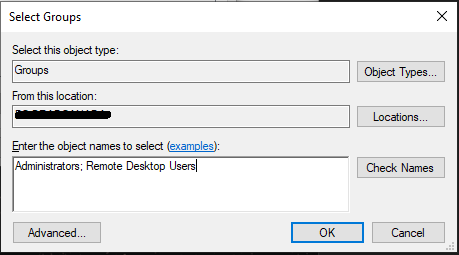
- to do this, click Add… > type in the box “Administrators; Remote Desktop Users”
- Click OK to finalise.
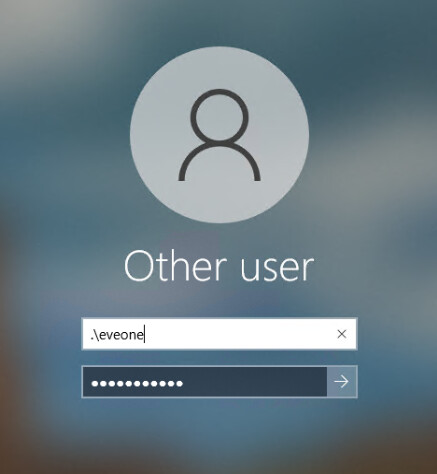
- Your local account has been created, now you can use RDP to connect to 172.0.0.2
- NOTE: When logging into the account you will need to use “.\USERNAME” as seen below:
How to install/setup RDP Wrapper
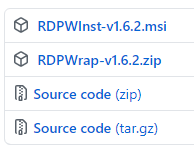
- Go to this Link: Releases · stascorp/rdpwrap · GitHub and install the latest version of RDPWrap. Make sure to download the zip file!
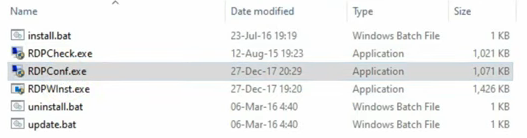
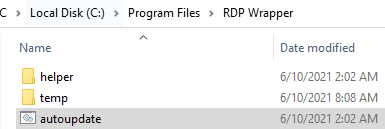
- After you have downloaded the zip file, go into C:\Program Files and make a new folder called RDP Wrapper. 3. Once made, extract the contents of the zip file into this newly created folder
- Then go to this Link: rdpwrap/binary-download.md at master · asmtron/rdpwrap · GitHub and download autoupdate.zip
Now extract the files into the same directory that you installed RDP Wrapper in.
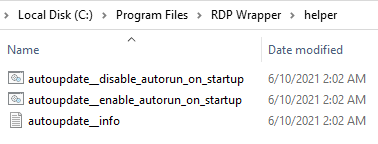
Once done go into the helper directory and run the batch file autoupdate__enable_autorun_on_startup
IMPORTANT: If have have anti virus on your PC such as Norton or Mcafee, please make sure to exclude the RDP Wrapper directory and all the subsequent directory’s inside!
- Now right click and run as Administrator the autoupdate batch file
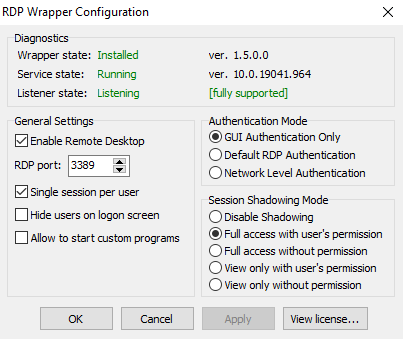
- Once done, start the RDPConf application and make sure everything is in the green like so:
If there are any errors or warnings please go to this link for troubleshooting: Issues · stascorp/rdpwrap · GitHub
- Finally its time to start your Remote Desktop! Open up the RDP connector by pressing your windows key and typing RDP
- Enter in 127.0.0.2 where it says Computer and click connect
NOTE: In the Remote Desktop Connection window, there are many options you can change, such as display size, sound options etc. Recommend using 1920x1080 for example.


2 Likes
good idea I’ll try it ![]()
1 Like
@Wombat Hello,
Do we agreed on the fact that rdpwrapper doesn’t allow you to use multiple alpha accounts without the required amount of omega account anymore ?
I’ve used this once but i still had account limitation for alpha accounts.
Please let me know.
Another option is Hyper-V as it passes on your real PC Info not VM Info at all but takes up alot of space and ram as it runs a Virtual Full Install of Windows 10/11 along with EVE and Botbase
When your PC Freezes its the normally due to GPU PV if you have passed on the GPU to them.
Do this to get it working again on a freeze
Windows key’ + ‘Ctrl’ + ‘Shift’ + 'B
Hand the same issue with my Nvidia card
It’s not about freeze it’s about i cannot connect to my vm at some point with different errors.
So if i reboot i can reconnect, but if not i loose many minutes to attempt.